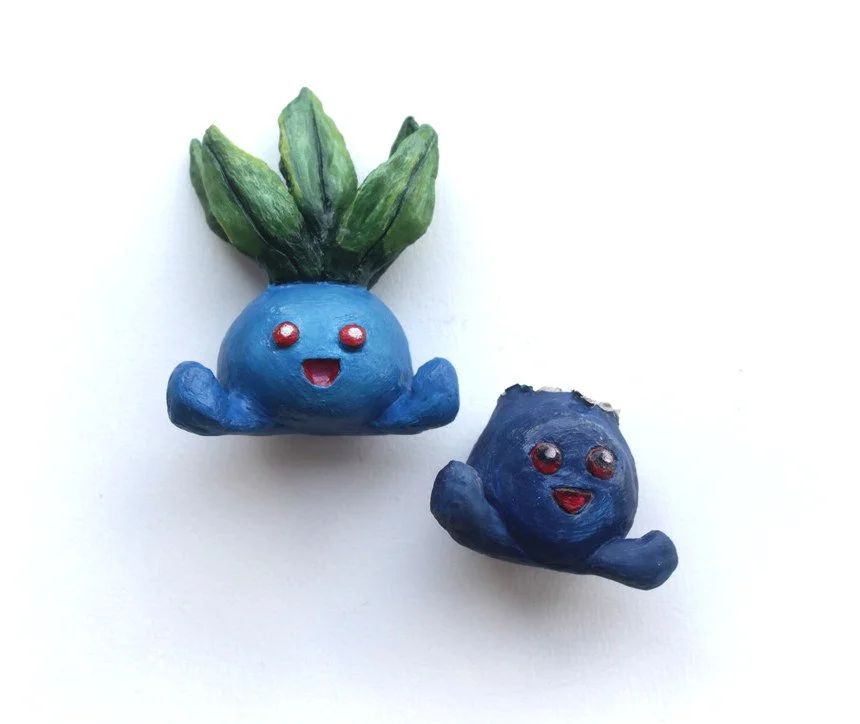
It’s my sisters birthday (again) and I’m expected to do something arty. She’s picked up my childhood interest in Pokémon, her favourite being “oddish”, so naturally I guilted myself into making her a small clay sculpture. How hard could it be?
I started with a wire armature which I enveloped in masking tape. I’m using air drying clay, the usual materials at this stage is wire and aluminium foil but I could use anything to bulk out the frame since I’m not putting this thing in the oven. Masking tape is also nice since you can trim and prune it into any shape you like without worrying about crumpling it into a hard mass you can’t unravel.
The tricky thing about air drying clay is the dreaded cracking. Cracks can appear everywhere if you leave your sculpture out to dry naturally. You’ll need a very slow drying process to stop this from happening. So every time I finished working with the sculpture I’d cover it in a light plastic bag to restrict the air flow, to really slow down that drying. If cracks did appear I mitigated against them by mixing the air drying clay with water to make a kind of slurry which is referred to as “slip” and fill in the cracks and smooth it over.
After it had dried, I wanted to sand the piece down to a nice smooth finish, I picked up some hobbyist sandpapers for this job since regular sandpaper is way too rough. After sanding the larger scratches away I continued using finer and finer grit. I went from 200, 400, 600, 800 to finally 1000 grit sandpaper.
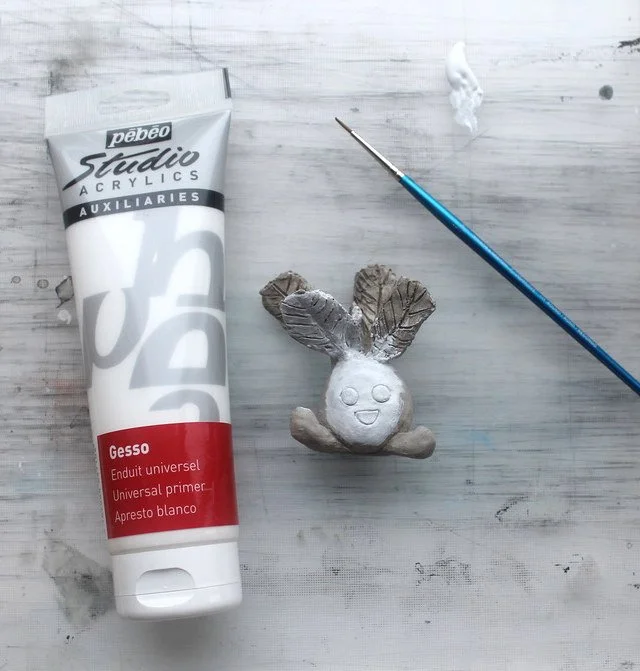
I had to get this sculpture done in little over a week, and made many mistakes. The first one being that after I finished sanding the sculpture, I applied a couple of base coats of gesso. I then made the big mistake of painting it without sealant. Gesso is not water resistant so what happened is the gesso undercoat started to sag, tear and bubble in a few areas.
Major disaster!
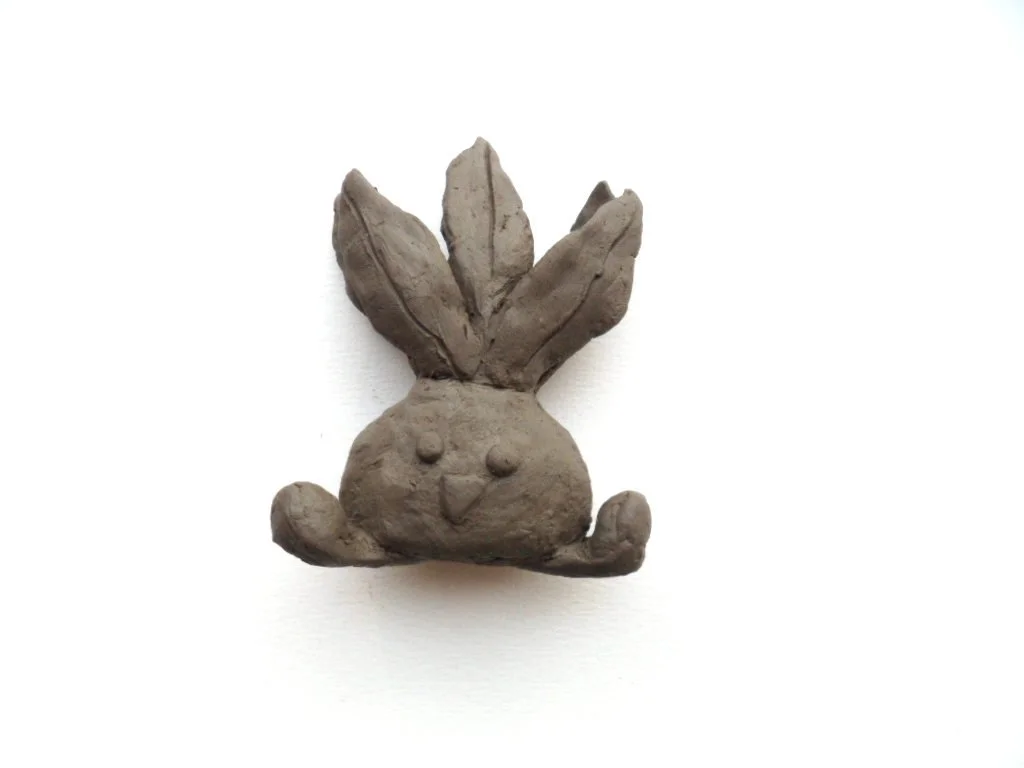
Ugly draft sculpture being gesso’d
I then had to meticulously remove all the paint and gesso undercoat with sandpaper and pliers. I really thought that was the end for dear oddish.
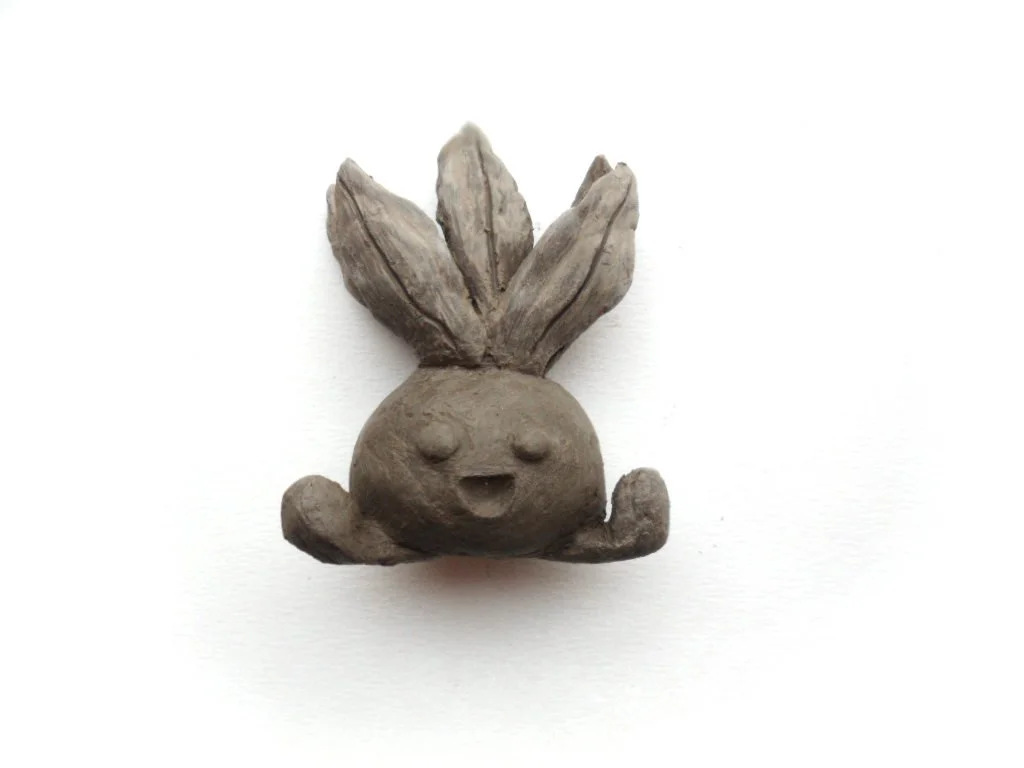
Ugly draft sculpture ready to be painted!
But I managed to remove all of the gesso somehow which is a testament to how strong and durable I made the sculpture, but after all that fussing I had to sand it down again, and reapplied the gesso primer and once dry, I then applied Mod Podge to seal the undercoat and finally move onto painting the thing!
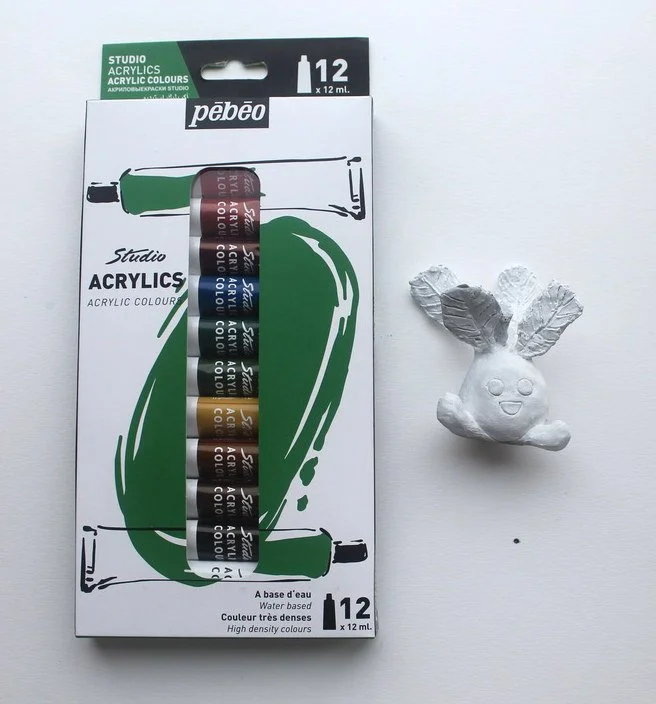
I painted this sculpture in simple acrylics, but since acrylics are essentially plastics you can easily overpaint whilst trying to blend colours directly onto the sculpture and making an uneven, blobby mess of things.
Yes, I am guilty of that too … you cannot sand down acrylics unless you want a patchy, shredded mess which is what happened to my draft sculpture. So you have to be very careful and skilled at blending colours, and acrylics are not my bag at all! I think doing this again I would use airbrushes to apply even coats of colour, using acrylics for small detailing.
After the hellish drama of painting the sculpture, with hours to go, I gave it two coats of Mod Podge (being careful not to make it clumpy) which gave it an excellent glassy sheen and presented it to my sister who unceremoniously fumbled it for a moment, thought I bought it from a shop and set it down, because lets face it — it was kinda crap.
I was the selfish one for indulging in this for my own sake, but I learned a lot from this and am very grateful her favourite Pokémon isn’t anything more complicated than a ball on legs, that would have showed me up for sure!


