
Another squirrel with a slight charcoal twist, I liked the fuzziness, especially on the snowy textured watercolour paper which I only use when I’m feeling a bit fancy. I especially love the eyes again, I do spend a lot of time on eyes. The eyes of a painting alone can easily take me 3 hours, probably isn’t all that necessary but I feel like it needs to look right as it is the heart of every painting I do. This squirrel is now available my shop.
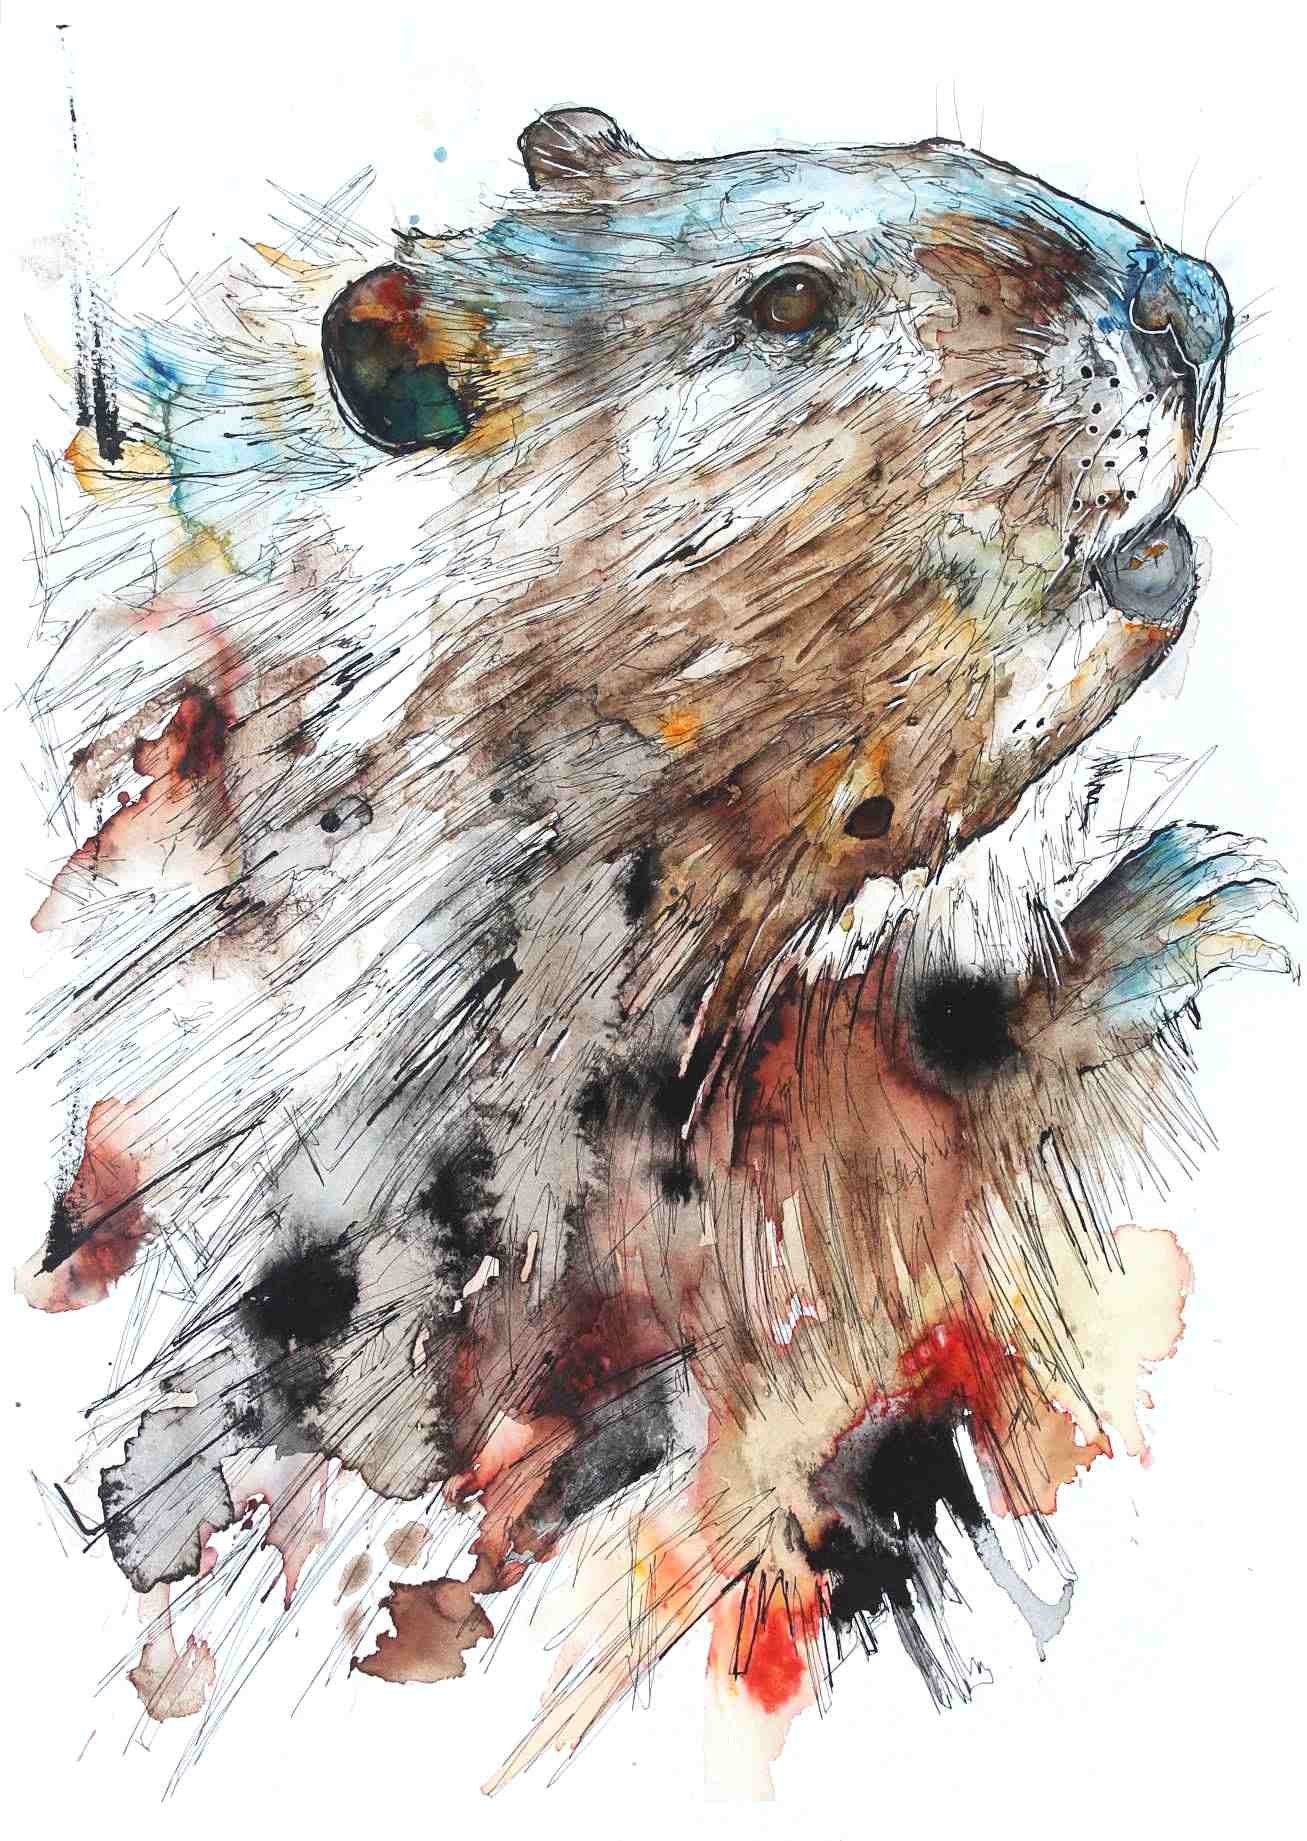
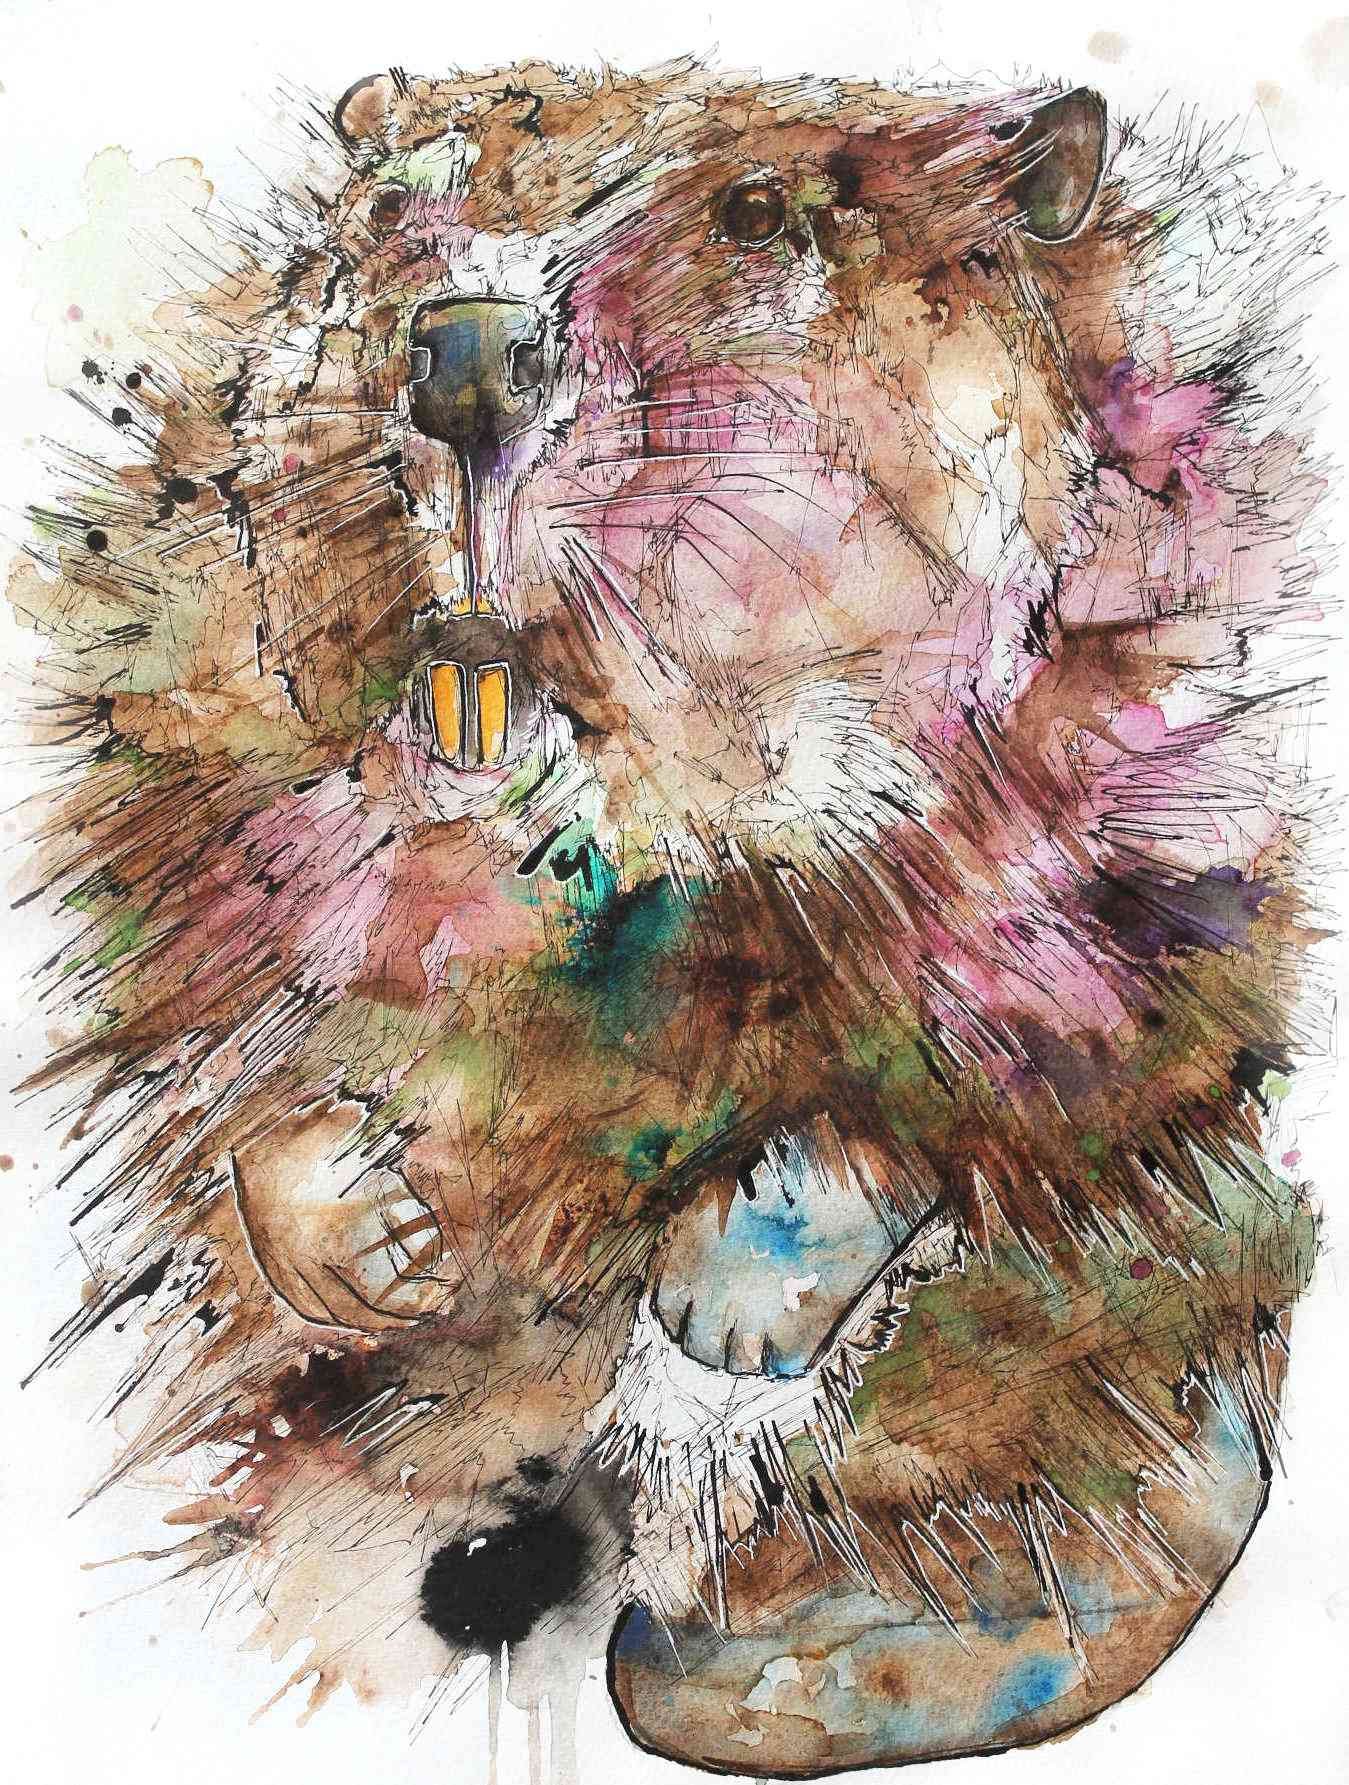
Watercolour Beavers

I’ve been working on a project which requires, a large amount of beavers! These are all watercolour and brusho with my usual mix of mediums. My favourite is clearly the first one, but I painted several not knowing which one will be chosen.
The Indian ink style was the one which got selected, and I will post later to not ruin the surprise of how it will look in full watercolour and animated for an exciting Rewilding Project by Ecologist Rob Lewis.

Tiny Tanuki Statue & Wildlife Inks

I wanted to make tiny simple paintings I can do of an evening as I have a few creative things I am juggling at the moment, this one is around 13 × 8cm, in just watercolour and ink.
This is a painting inspired by traditional tanuki statues from Japan, along with some animal friends who are also very small, I will also paint these and post.


Sparrowish Paintings
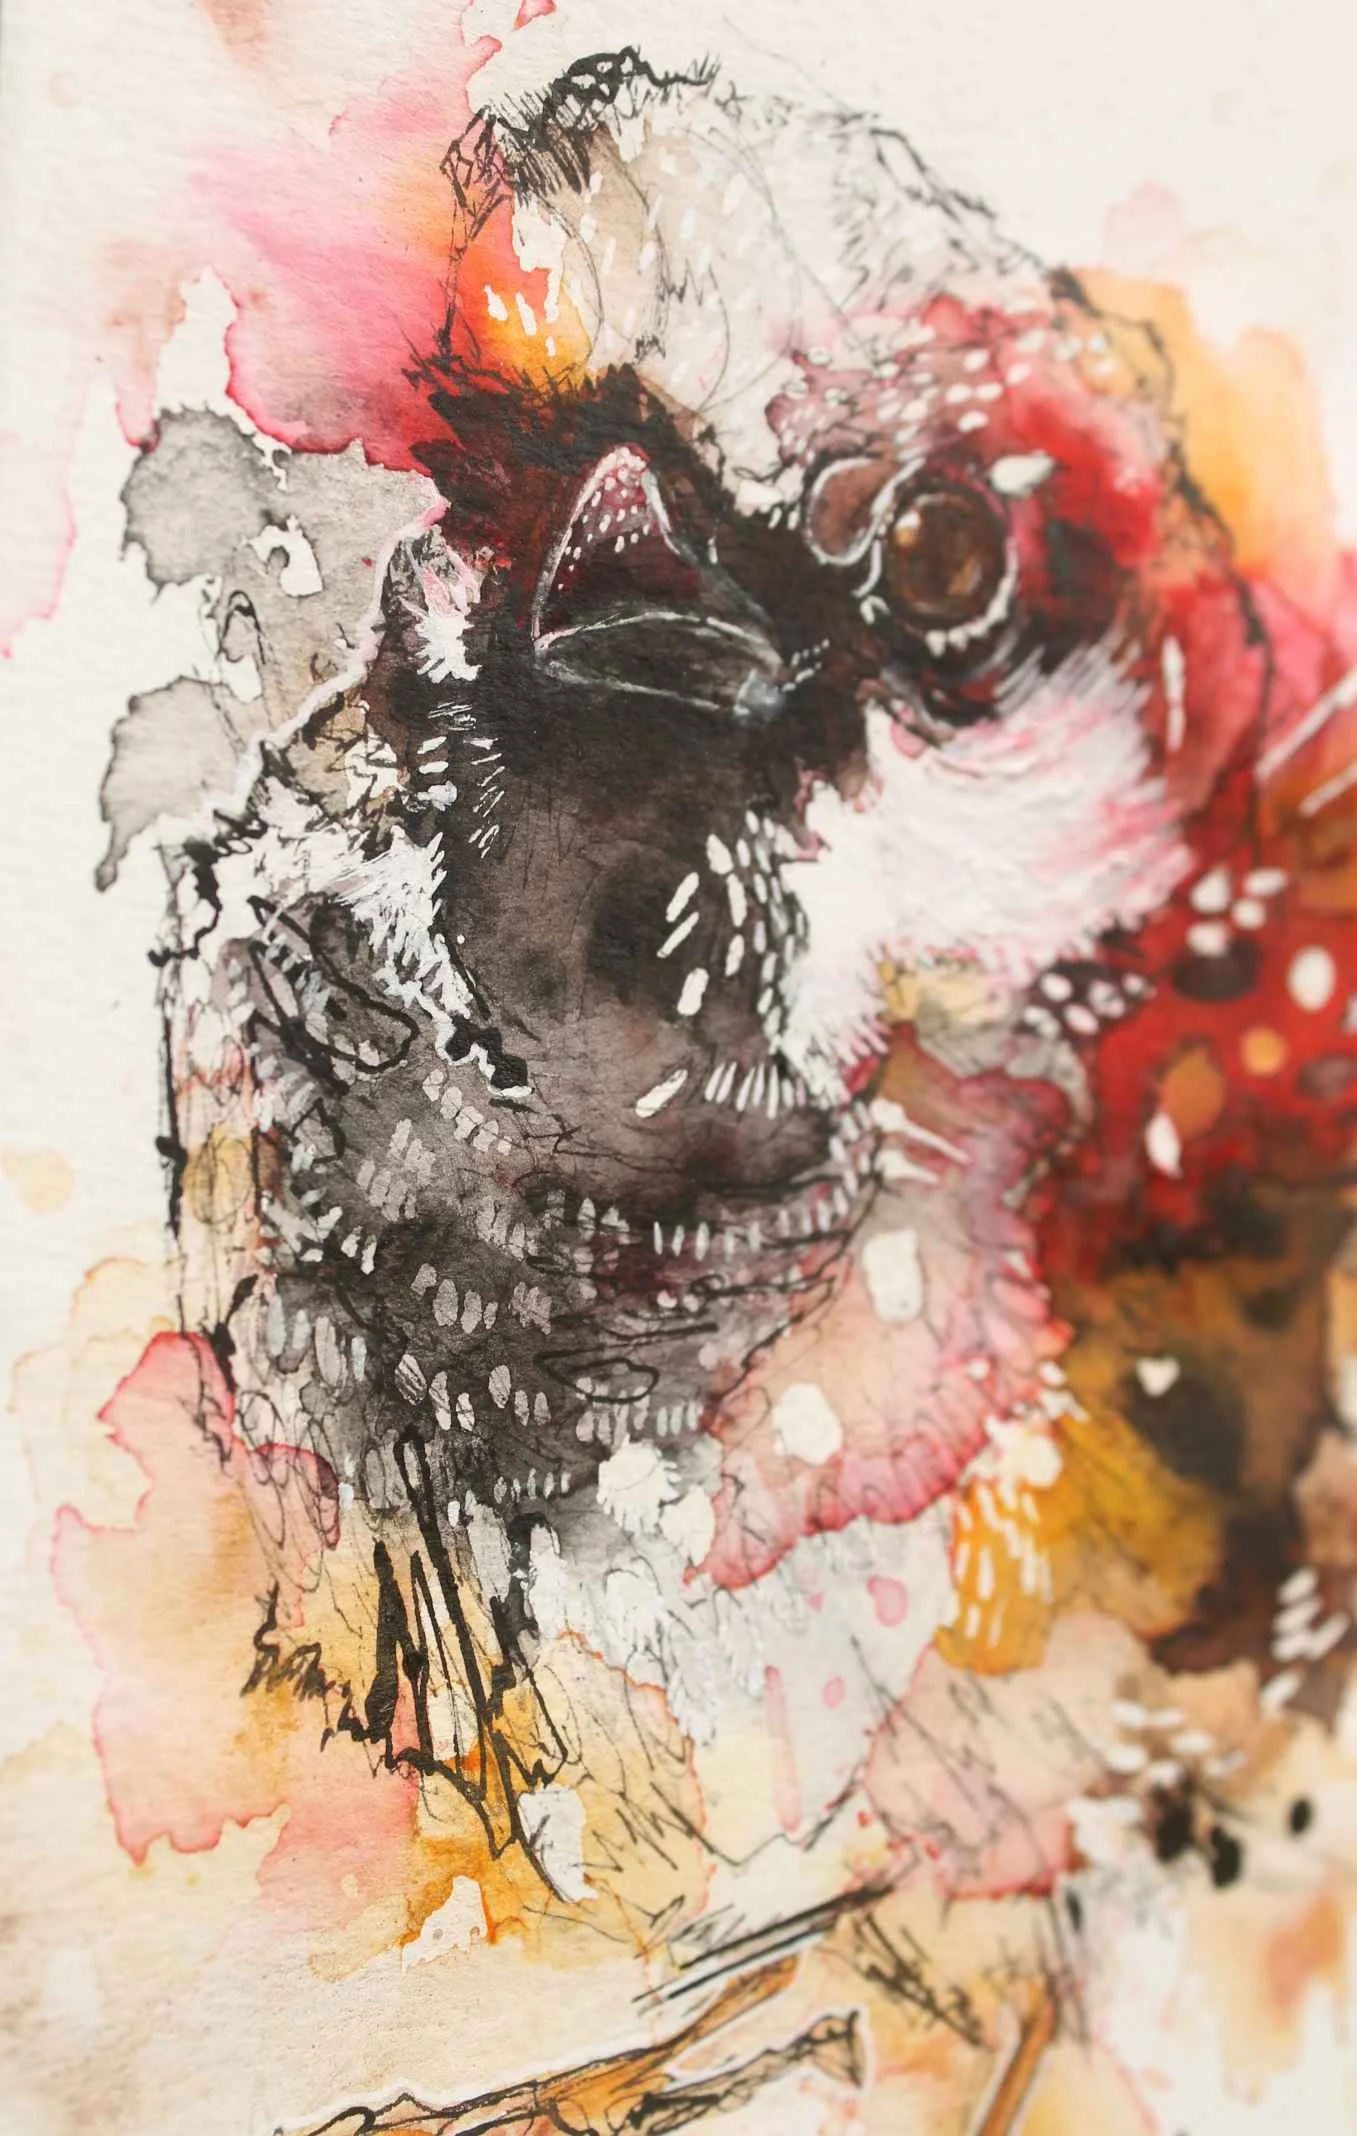
My wrist is feeling better, so I tinkered about in my tiny watercolour pad and made a couple of sparrow inspired paintings, since the birds are always messing about in the garden squabbling and being clowns. I finally found a use for that useless, bin-able watercolour ground which was marketed as the end to all watercolour mistakes. Its gritty texture I used to add fluff to the face of these bird paintings, bit of an experiment, I still think it’s a rubbish product.
(No More) Suffering for My Art

Look at this. This is how I’ve severely damaged my wrist, to the point where I cannot even use a pencil or type this out without pain and discomfort.
This is stupid. I use this method to transfer my images onto watercolour paper, without having to directly draw on the watercolour paper – because mistakes do happen!
I flip the original drawing over, tape it to the sides of the watercolour paper, draw around the picture so I know the boundaries of where I need to aggressively press with a fine point. And yeah, just go nuts furiously on the back to transfer a flipped, fainter image of your original drawing.
This method ruins your original drawing, it's only good for a couple of goes before the paper starts to rip and disintegrate.
You, probably like I, have seen this technique all over art blogs and it’s fairly popular, even though is takes a huge amount of time. You can’t see what you’re doing, you’re wasting the lead in your drawing pencils AND the image is flipped so you just have to pray that you can make it look ‘right’, which isn’t easy, which you then have to spend more time rectifying - if you can … AND you can really hurt yourself as you have to apply a ton of pressure to squeeze every bit of detail off of the drawing paper onto the watercolour paper.
What’s the alternative? Well there’s transfer paper, but that’s not so good which is why I don’t use it.
You’re still having to use quite a bit of pressure, and it is clunky. There’s no way can you get lines of different thicknesses, which leaves you having to draw many of the finer details in later. Not to mention you are working directly over your original drawing, retracing the lines which spoils the original.
Also it can be mucky if you’ve accidentally leant on your work in the wrong way, big black patches of impossible to remove carbon/transfer muck can appear on your watercolour paper along with your now chunky drawing. Also you are applying as much pressure as you can - because transferring sometimes doesn’t work. You’ll only know if you tentatively peel back the layers, an area at a time or remove them altogether after you’ve finished with your fingers and toes crossed.
How should I transfer an image if I don’t want to directly work on the watercolour paper?
USE A LIGHT PAD! I’ve just bought my Huion Light Pad (not sponsored!), and it was inexpensive, easy and one of the better brands. You lay your original drawing face up on the light pad, overlay your watercolour paper on top of the original drawing also face up, turn the switch and alter the level of illumination and you should see your drawing appearing through the watercolour paper.
The only caveat is that if you want to get a stronger image appearing on the watercolour paper you’ll have to be in a darker room or at night if you still haven’t sorted out any window dressings ... You can use it in the day but the details won’t come through as easily.
This method isn’t perfect and I’m not going to pretend your drawing is super high definition - the glare of the box in the dark can be a bit much if you’re using it on a high illumination setting. But you’re not messing up your wrist or ruining your original drawings which means you can trace over and over again - tweaking your drawing, making them better, make easy compositions with other drawings, it is brilliant.
Don’t be cheap or stupid - like I was, there are better alternatives to image transfer and using a light pad has really injected a huge amount of joy into an arduous task. You still might have to go back and redraw some of the finer details but at least you don’t have a crippled up wrist.
Please send your prayers and thoughts to my wrist, I’ll update soon once I’m fully healed!
Beaver Sketch
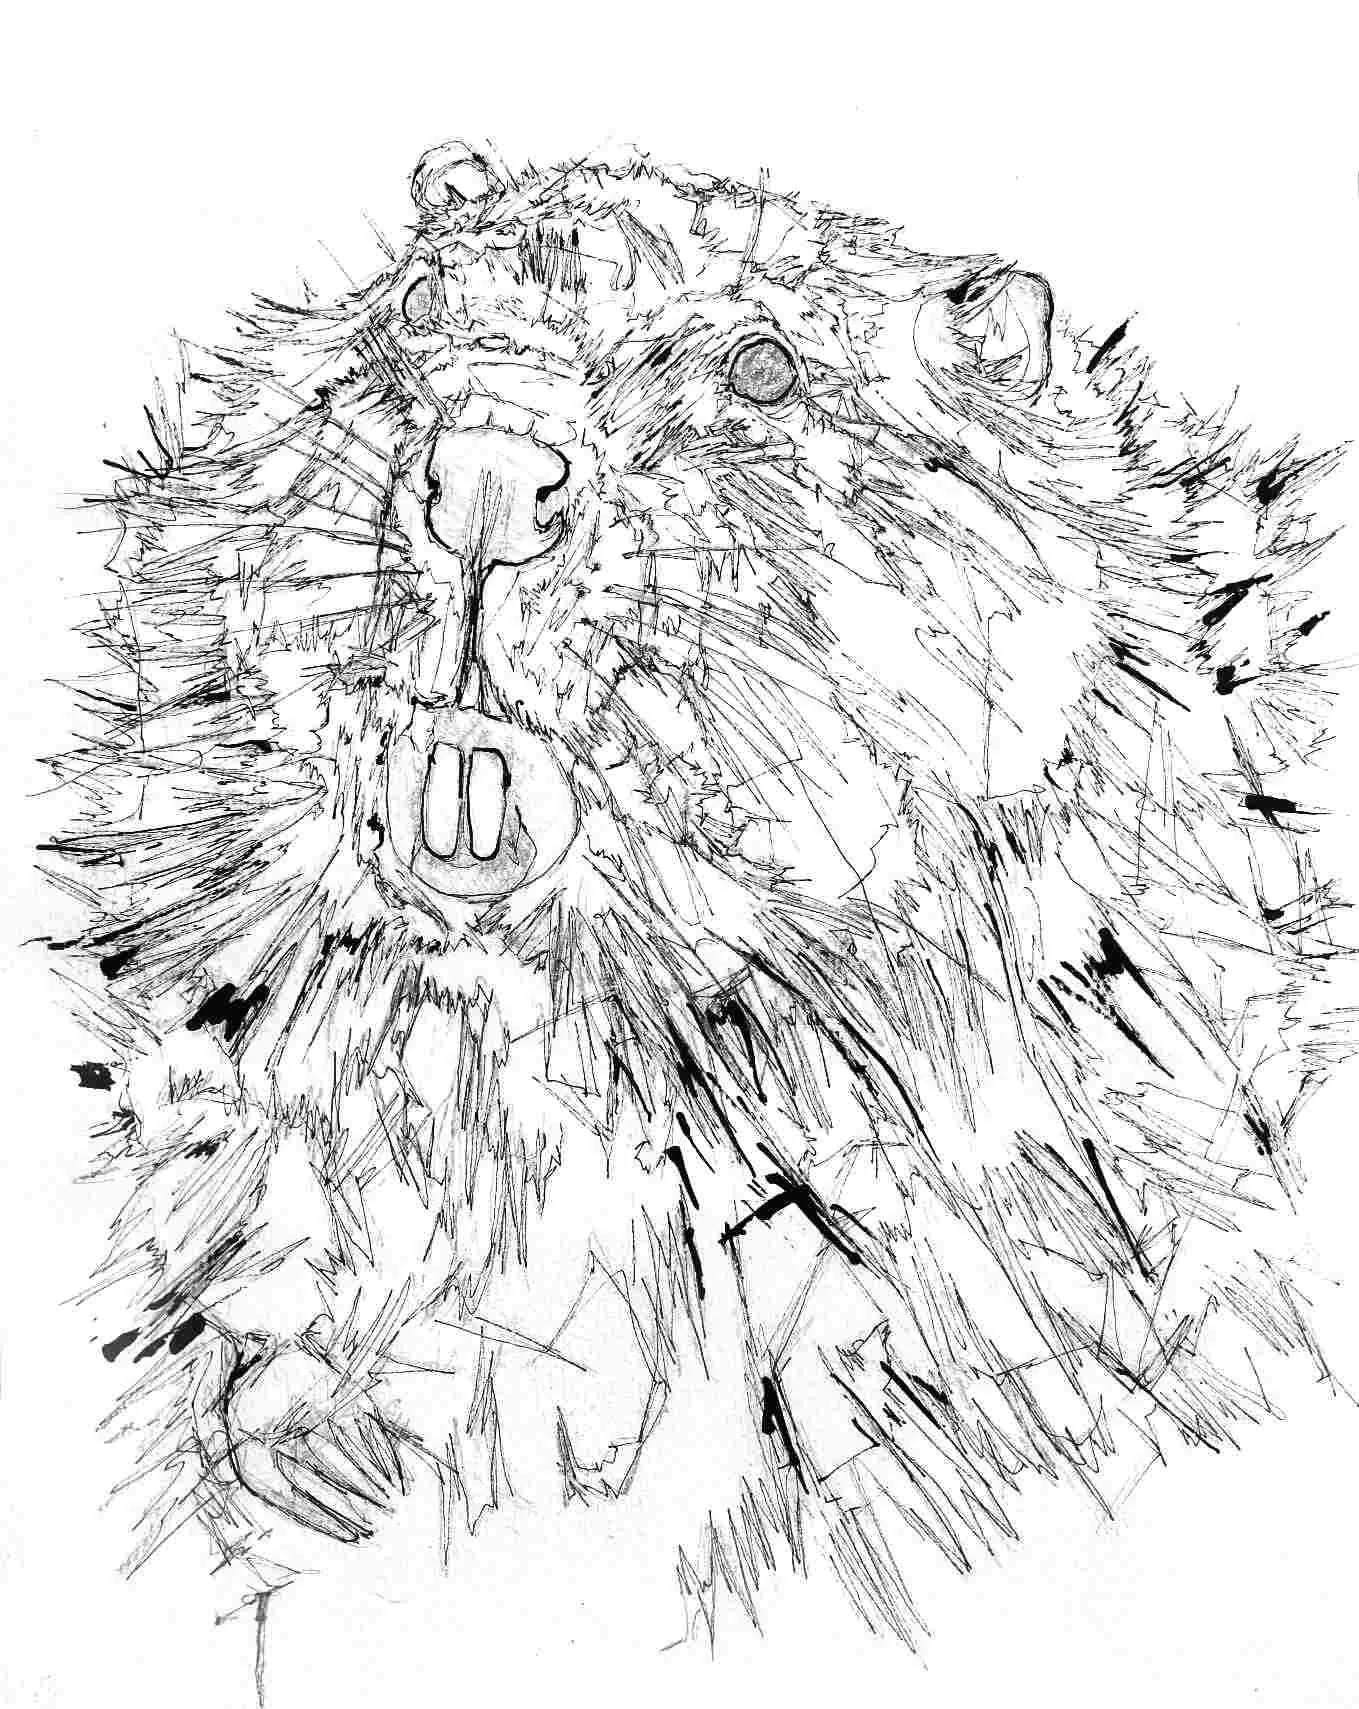
Just a little sketch of a beaver for an upcoming collaborative project. Featuring my usual fineliner and ink combination, my final version I aim to be a little more characterful. Just thought this needed posting before it goes in the pile … I’m keeping the composition, but will make it less generic looking in the final drawing.